DIY Dyed Ugg Boots

If I’m not at home or at Walmart, you can probably find me at the thrift store. Hunting for treasure and seeing potential in things other people have discarded is one of my favorite hobbies. I love bringing a second life to items that other people view as garbage.
I also REALLY love Ugg boots. Yeah, yeah, yeah, you can @ me and tell me they’re ugly or out of fashion, but I don’t care. I like what I like, ok?
I’ve been wanting some navy ones for a while, but I just couldn’t bring myself to spend the money. Imagine my delight when I found these (formerly) navy Ugg boots at Goodwill for $7.99. They were structurally sound, relatively clean and the inside was in great shape, so I tossed them in the cart. I knew I could bring them a new life.

Before, looking sad

The bows were still in great shape
I did some research and it seemed like people were dyeing Ugg boots, but they were doing it by submerging them entirely in fabric dye (which according to the RIT website and many online articles, is perfectly acceptable).
I didn’t want to dye the bow, so this solution wasn’t viable. I decided to use suede dye, so I ordered some Angelus suede dye from Amazon and waited the excruciating 3 days for it to arrive so I could start my project.

You can click on this picture if you want to order the same dye I used.
I tend to throw myself immediately into a project without doing the proper prep work…which is a decision I usually regret. I really REALLY wanted these boots to come out perfectly, so I used painter’s tape to tape off the soles and the Ugg label so those parts wouldn’t absorb the dye.
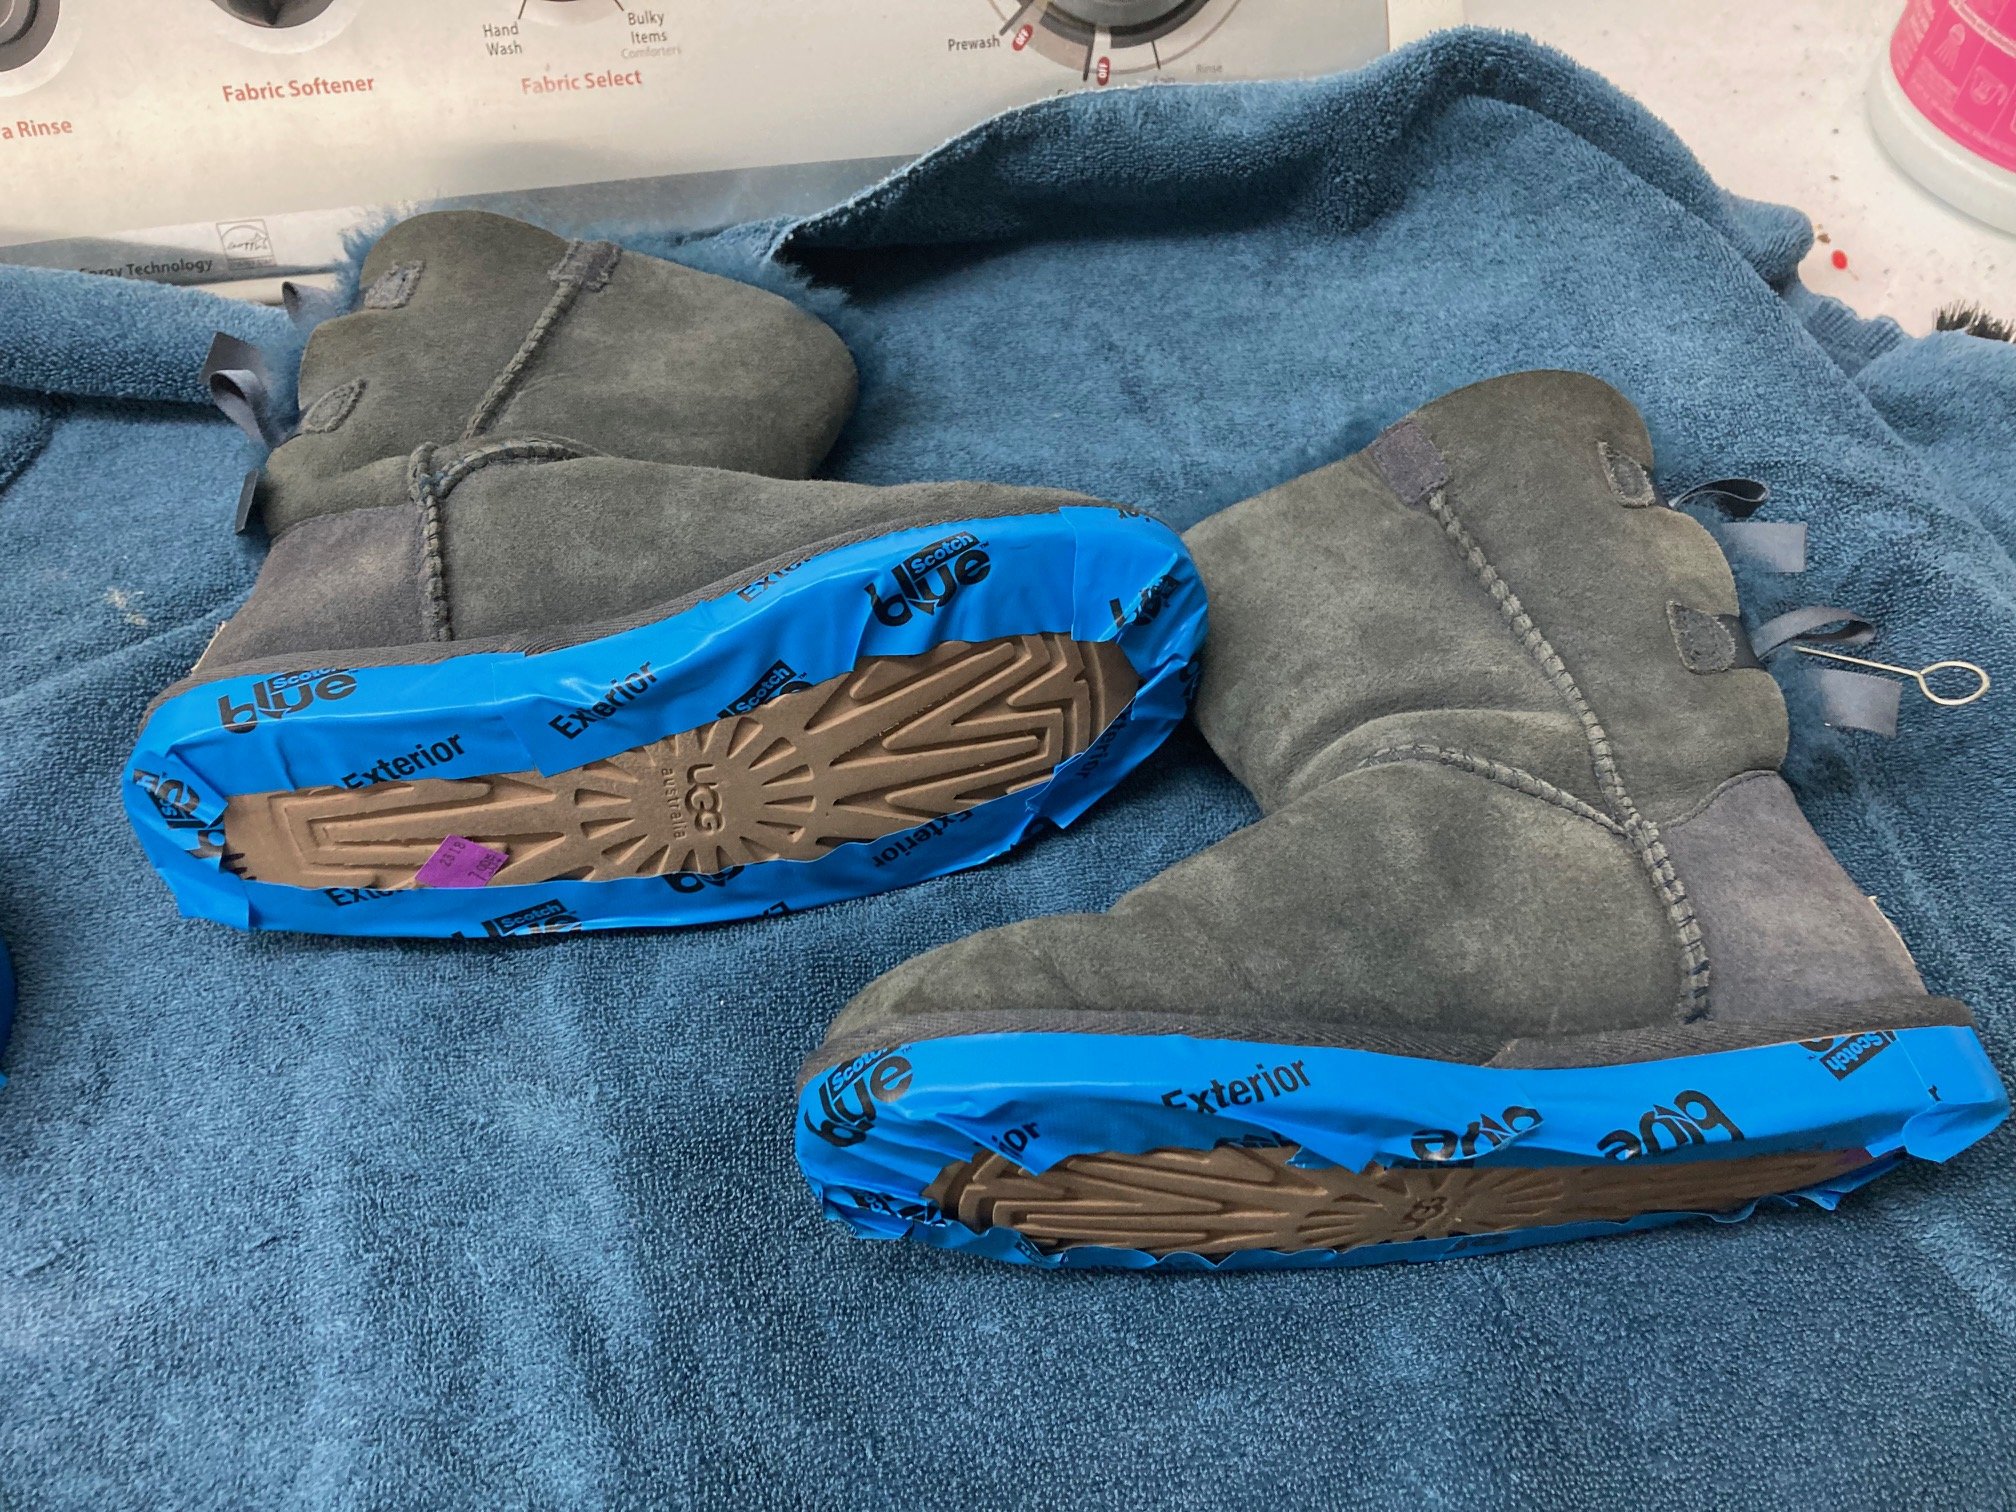
Ugh. (or should I say Ugg), prep work…I hate it. Get to the fun part already!

I cut the tape so it perfectly fit over the back label. That was time consuming and annoying. But I did it.
Once everything was prepped and taped, I realized I should probably clean the dust and dirt off the boots. Ugh, more prep work. And of course I didn’t have a leather brush, so I used a generic cleaning brush that I’d previously bought to clean my tile grout…a project that is still waiting to be completed.

This is the brush I used. It worked just fine. You don’t need a leather brush if you don’t have one.
Finally time to get to work! Which is what I should be doing right now instead of blogging about how I dyed Ugg boots….but I digress. Included with the dye is a little wand which you simply dip into the dye and rub on whatever surface you’re dyeing. I rubbed the dye over the boots, careful to not dye the ribbons.

I dyed the larger parts of the boot with the included wand, careful to hold the ribbon with one hand away from the dye brush. You can see that I left the detailed parts for later. When dyeing these, I had to push the wand pretty hard into the place where the suede boot part meets the bottom part.
It did not seem important that the dye be very evenly distributed, so if you have to use more dye in a certain place, don’t worry. It should still come out fine.
To get the smaller areas, I used a Q-tip instead of the included wand and did it the same way. Just brushed the dye on to the areas. I used a Q-tip around the label and for the areas close to the bows.
After I finished the first coat, I examined my work. I was pretty happy with it, except…

This part was still grey and still bugging me. So I went all around the edge areas with a Q-tip and dyed those area. I was careful to hold the wool away from the dye as I worked. I got a lot of dye on my hands, so if you’re concerned about that sort of thing, probably wear gloves while you’re doing this.

I was pretty happy with my results at this point. I decided to do another quick coat just to make sure the color came out as evenly as possible. I then let them dry for 24 hours (as per the instructions) and voila!

The finished product
As per the recommendations, I’m going to put some weather-proofing sealant on them, but that hasn’t come in yet. And I live in Texas and it’s May, so I won’t be needing to wear these for a while.
If you have questions about how I did these, feel free to shoot me an email by using the “contact” tab at the top of the page.