Louis Vuitton Bag Rehab
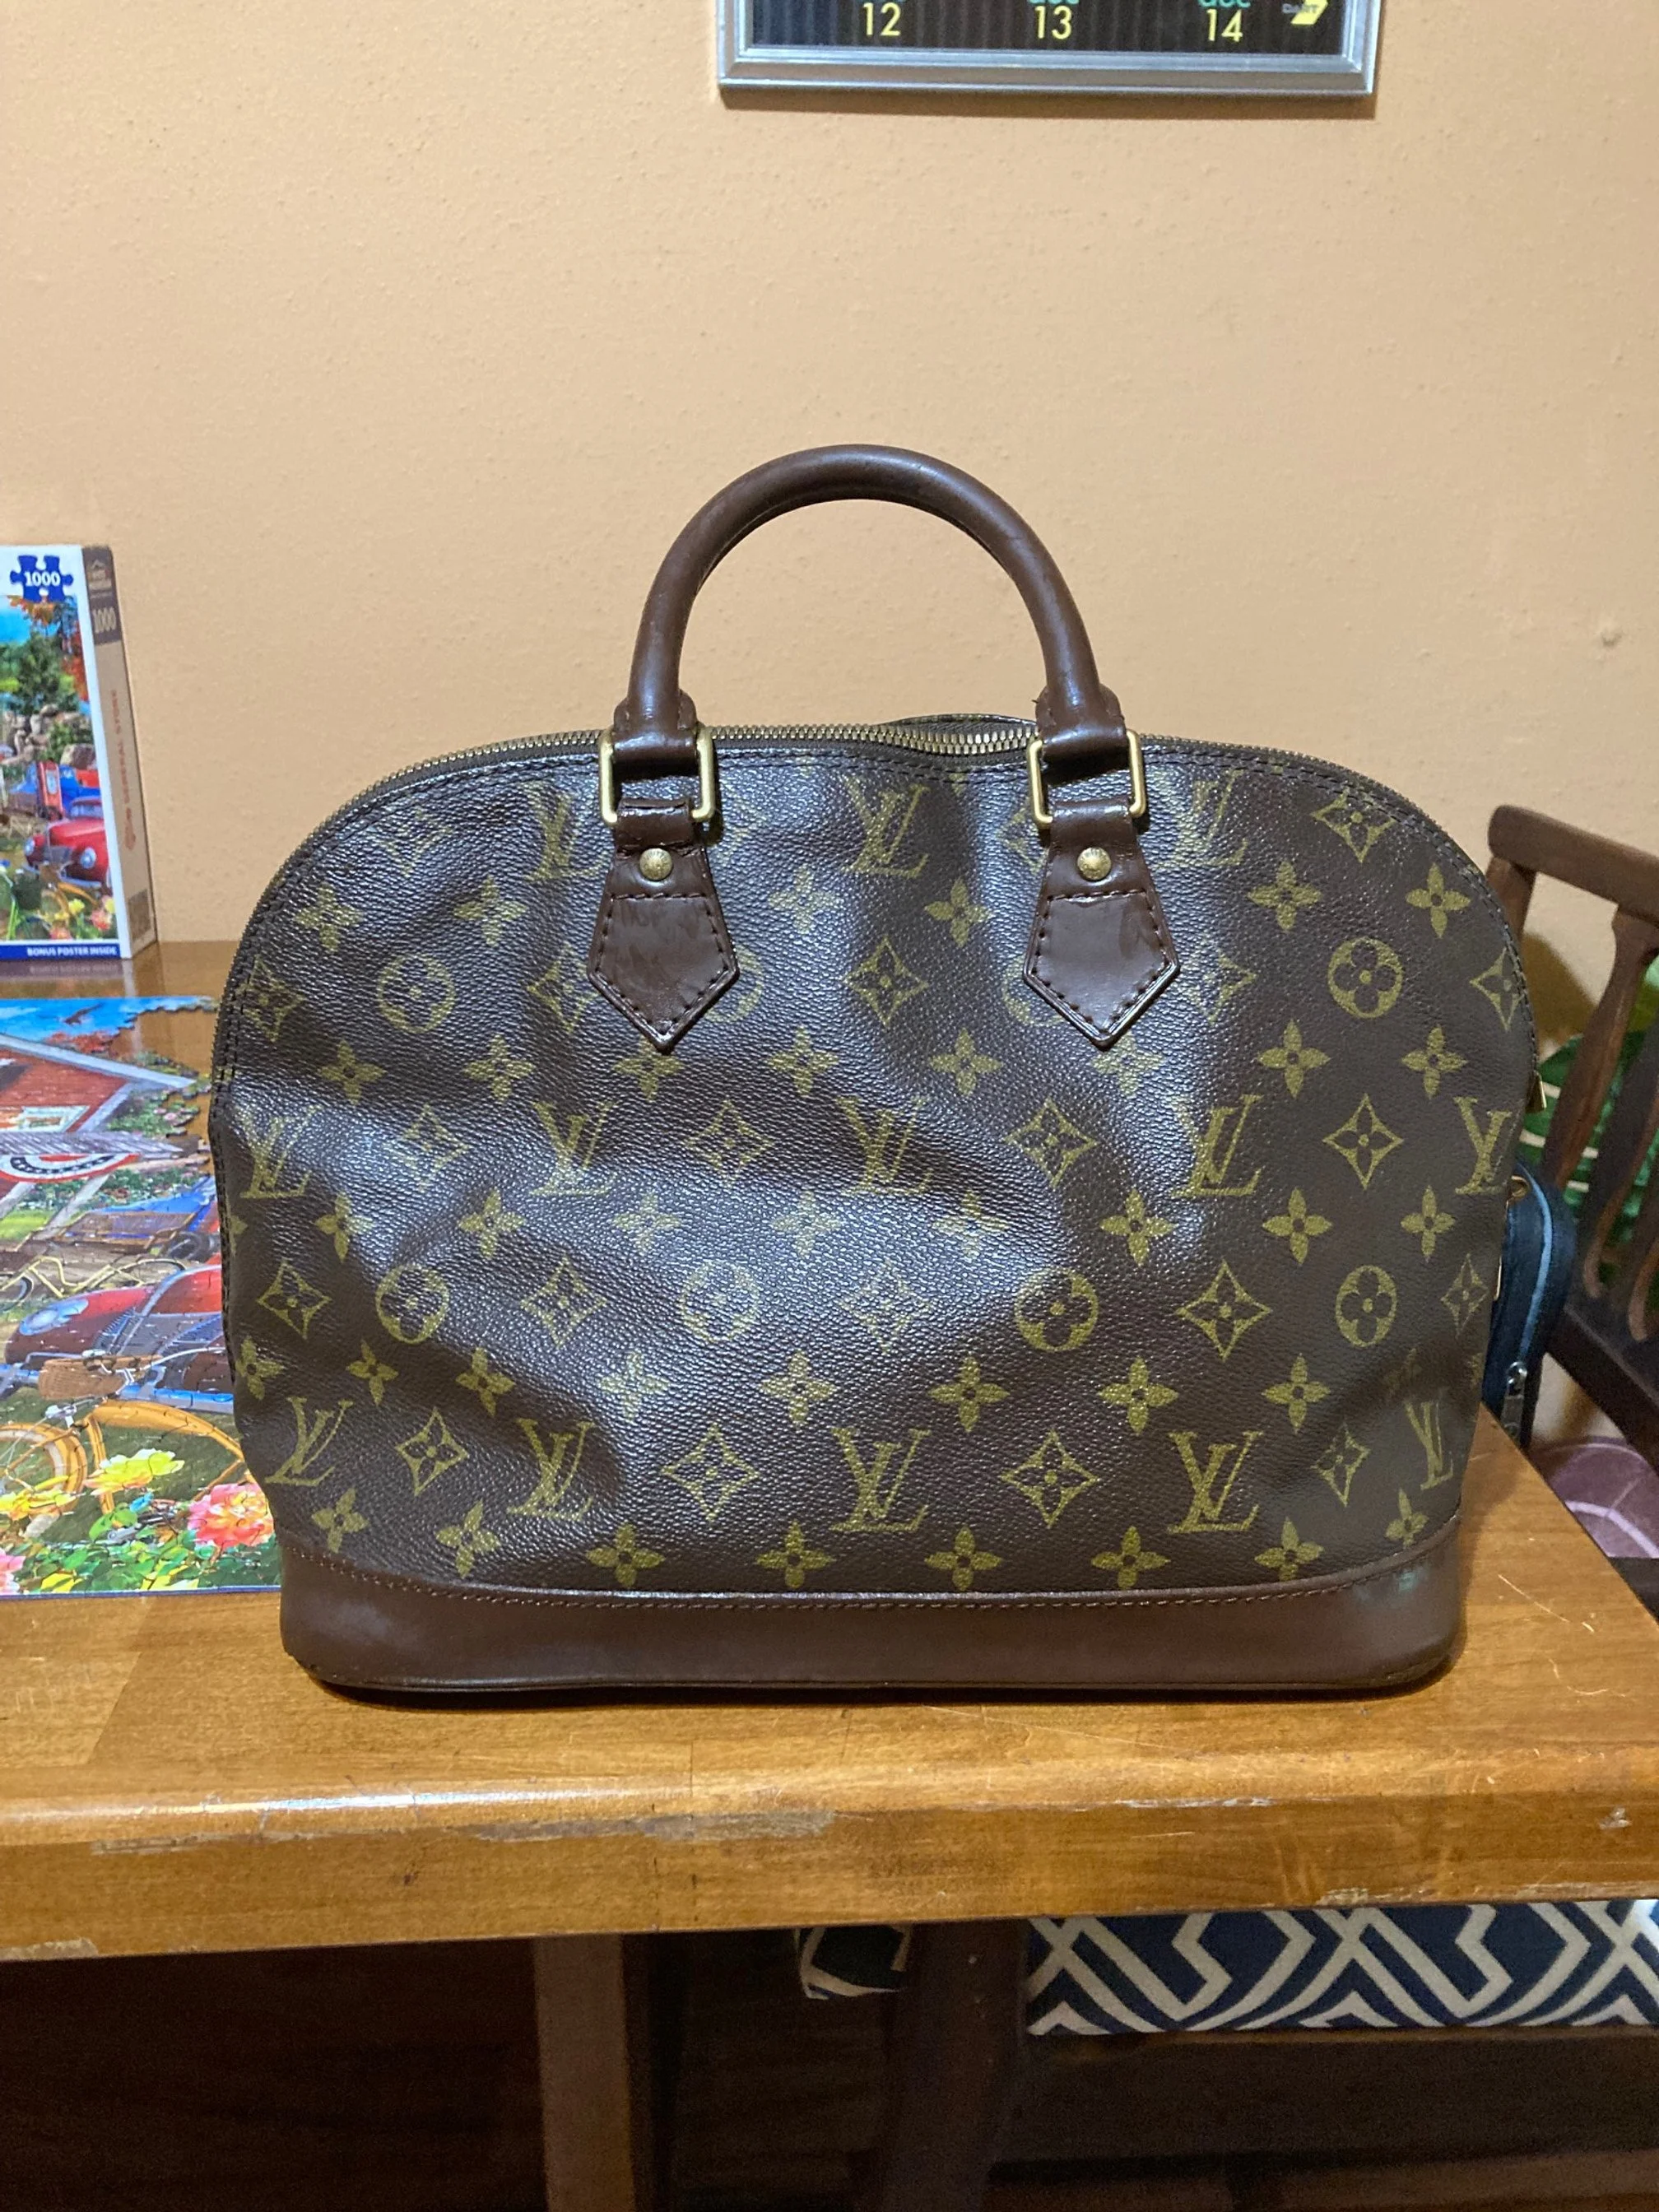
I scored this Louis Vuitton vintage bag for $60 when I was buying something else on Poshmark. At the time, I had no idea what I was going to do with it: it was not in good shape. There were significant stains and discoloration all over the leather and was not, in its present shape, a bag I’d carry in public. The price was right; however, so I clicked “add to cart” because, c’mon! It was an LV bag for $60 and the main part still looked really good.

Sad Louis, looking for a new lease on life
There was also a slight tear in the corner that definitely impacted the look, though not the functionality, of the bag.
I let it sit around the house for an embarrassingly long time before I decided to get to work. I’ve been doing a lot of leather crafts recently, so I was feeling inspired to get to work on this little lady.
I was going to paint the leather to to restore the original color…but after a test swipe using the bottom of the bag, I realized that was not going to work.

I tested the top left and the one directly underneath, but neither color was dark enough to cover the stains. A lovely friend of mine sent me this picture of one of her bags and I was inspired.

I decided that dark brown paint would not only look good, but also effectively cover the stains and imperfections present on my bag.
I had this paint in my arsenal, and I trust Angelus with my leather goods, so I decided to use this one.

One thing I particularly like about this paint is that there is a brush attached on the inside of the lid, much like you’d find in a little bottle of nail polish. This means that I don’t have to wash the brush in between coats and I love anything that will save me time and effort without compromising quality.

So convenient!
After deciding on a color and picking out my paint, it was time to get after it! I used the included brush to paint everything except the parts that needed a very detailed brush.

The coverage was very good with this dark brown color and I was feeling very encouraged.
It took a while to paint the bottom of the bag-especially since my daughter kept turning off the overhead light in the living room while I was trying to work.

It probably needs another coat to make it look perfect, but I was getting tired of painting this giant bag with a nail polish brush so I decided this was as done as it was going to get.

I carefully went around all the unpainted parts with a very small, precise paint brush. Once I painted the fine details, I was pretty much finished.
Completed, painted Louis Vuitton bag
I wanted to make SURE SURE SURE this bag was dry before I did anything else, so I let it sit in front of a fan for a couple of days (while I waited for the finisher to come in). I wanted to ensure that the paint would stay on so I researched my finishing options. Angelus recommended a finisher on all painted leather, so I ordered a bottle from Amazon.

Once this goes onto the leather, it’s pretty much invisible, so you don’t have to worry about being precise. You can just slap it on all the painted areas with a thick brush. Once that was done…the bag was finished!


Hopefully this Louis Vuitton DIY will inspire you to give new life to some of the beautiful things you own!